If you want to know how to add someone to manage your GTM account, you are in the right place.
You can grant access either at the account level or the container level, called “Account Permissions” and “Container Permissions,” respectively.
A user can view or administer other users at the Account level and read, edit, approve, or publish rights at the Container level.
The article will provide step-by-step instructions for granting access to Google Tag Manager quickly and efficiently.
Add users to a GTM account.
Add users to a GTM account by following the below-mentioned steps. Before that, make sure that you have a Gmail account or a domain email ID associated with G Suite.
Visit Google Tag Manager.
1 login with your Gmail ID.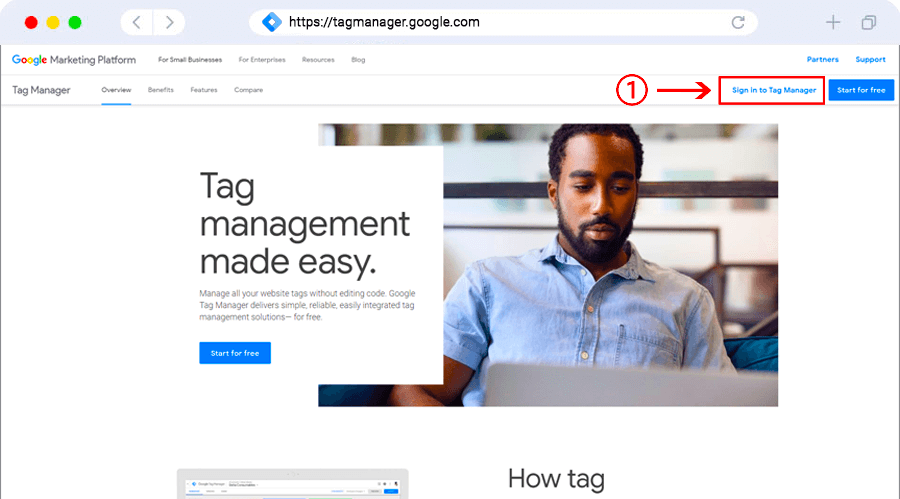
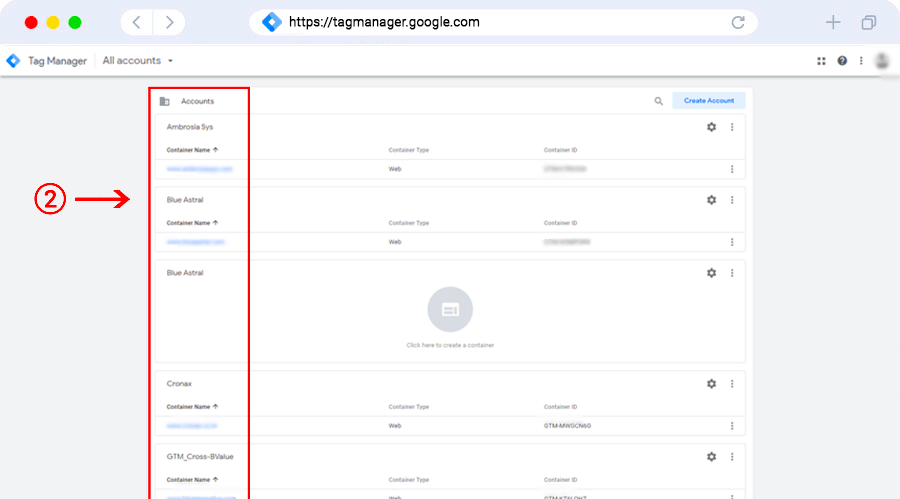
2 A dashboard will appear as you log in. Choose a Google Tag Manager account. If you haven’t set up a Google Tag Manager, follow the steps here. Check Google Support Here
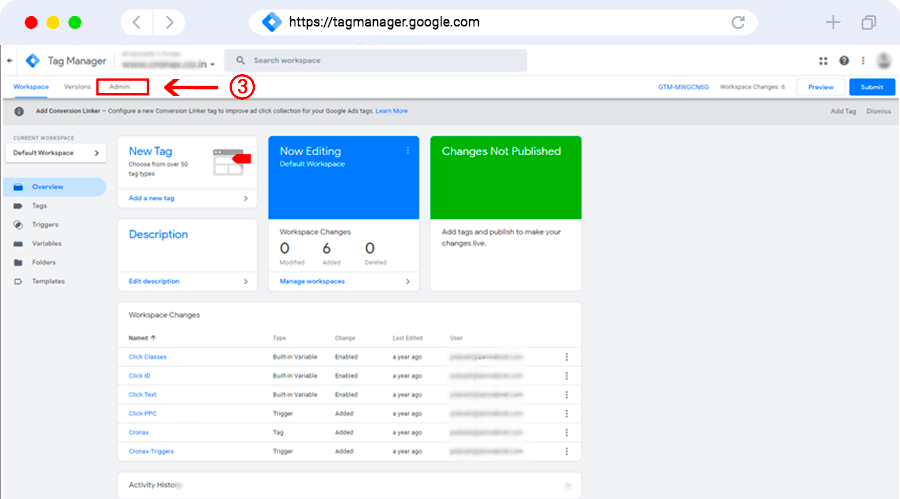
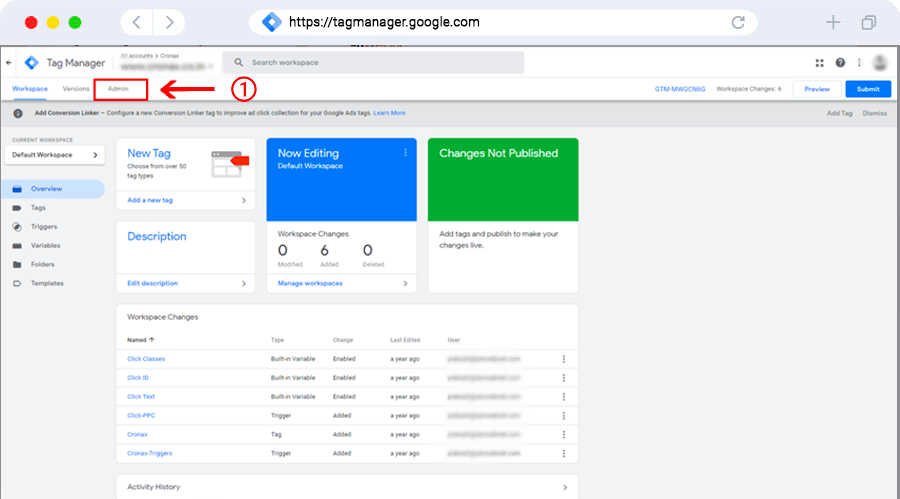
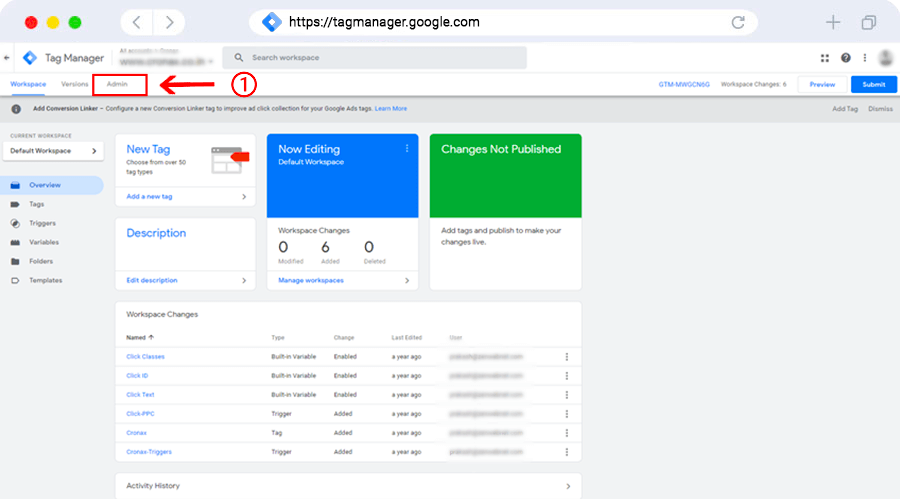
3 Once you have chosen a GTM account, click Admin.
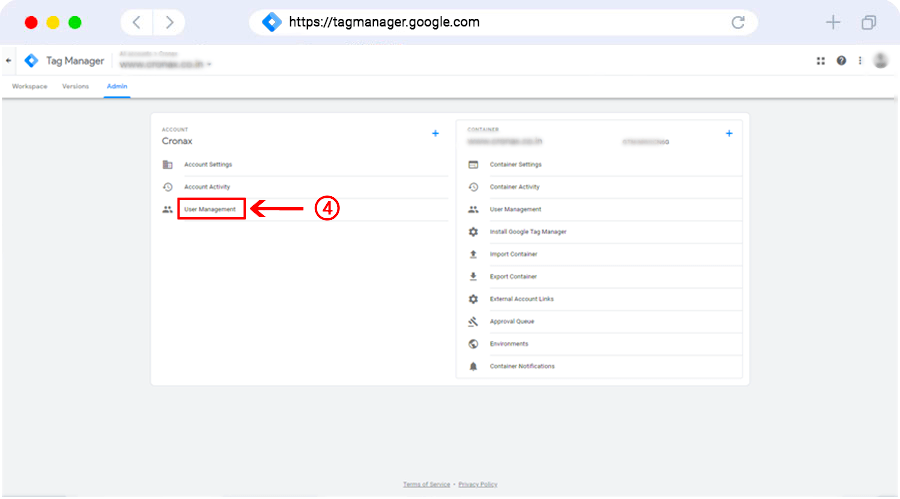
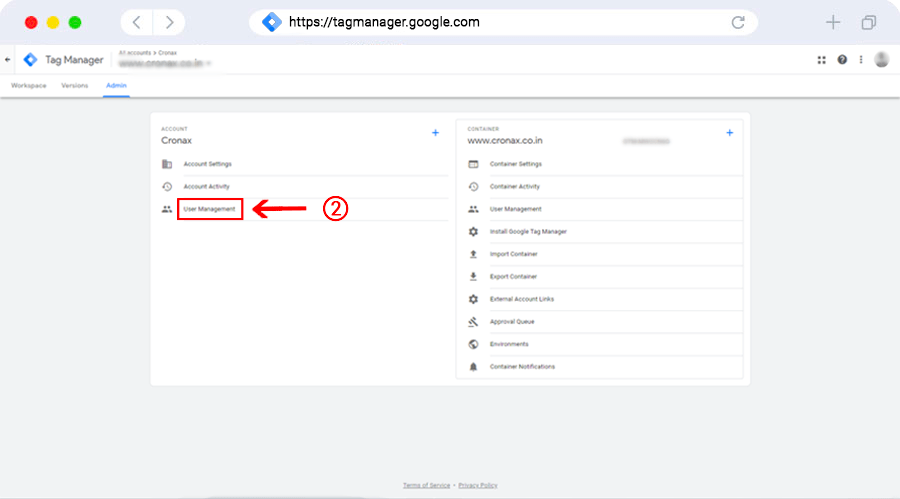
4 Go to the Account section and then select User Management.
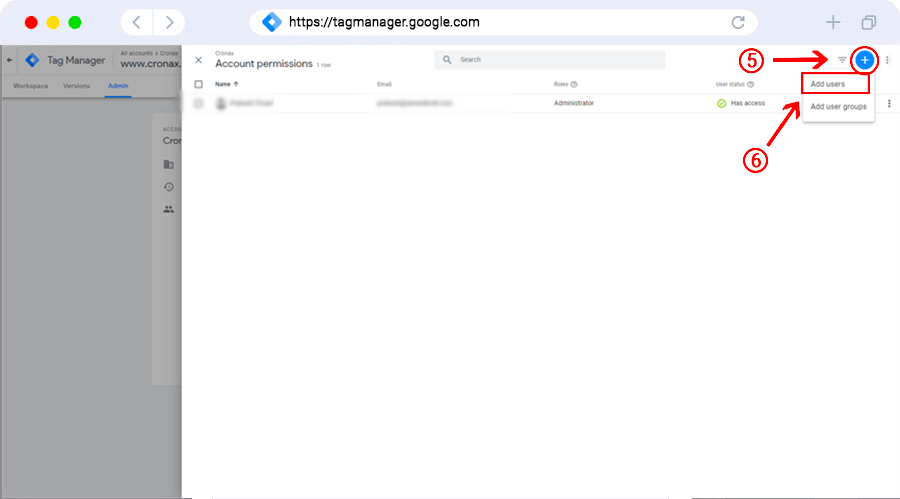
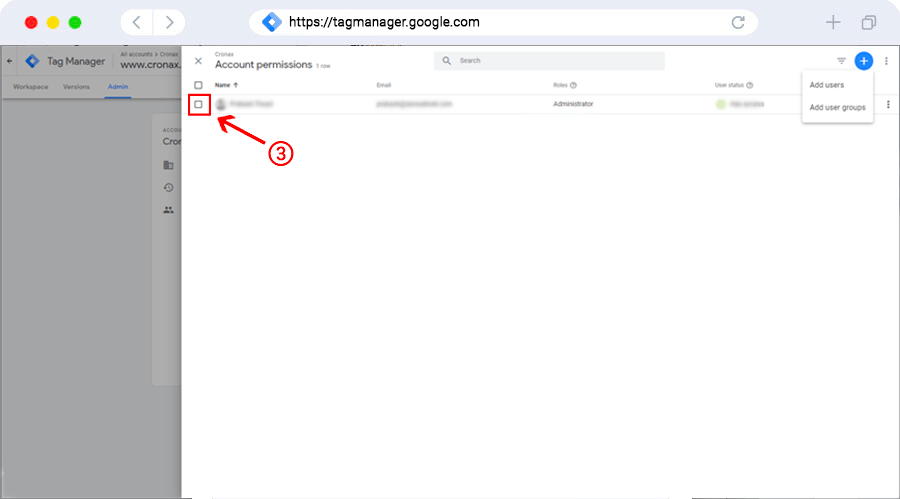
5 Click on the + icon.
6 Select Add users.
7 Put the email ID of the users you want to add in the box.
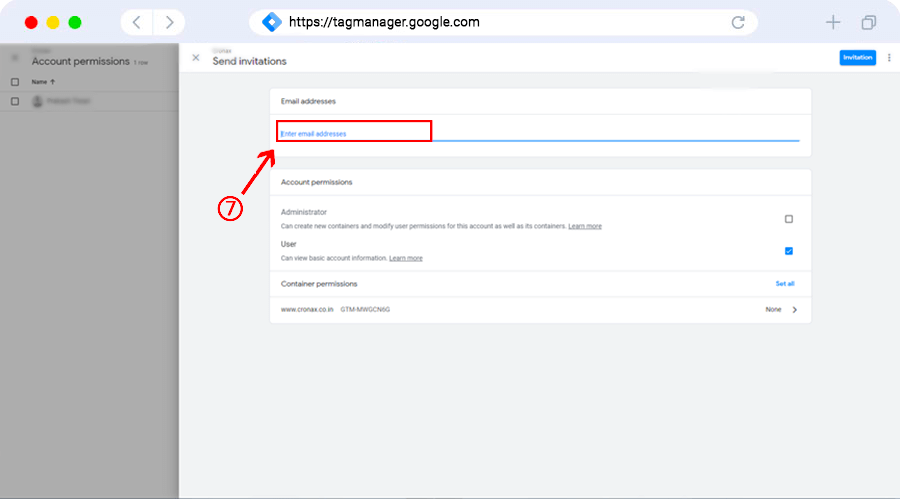
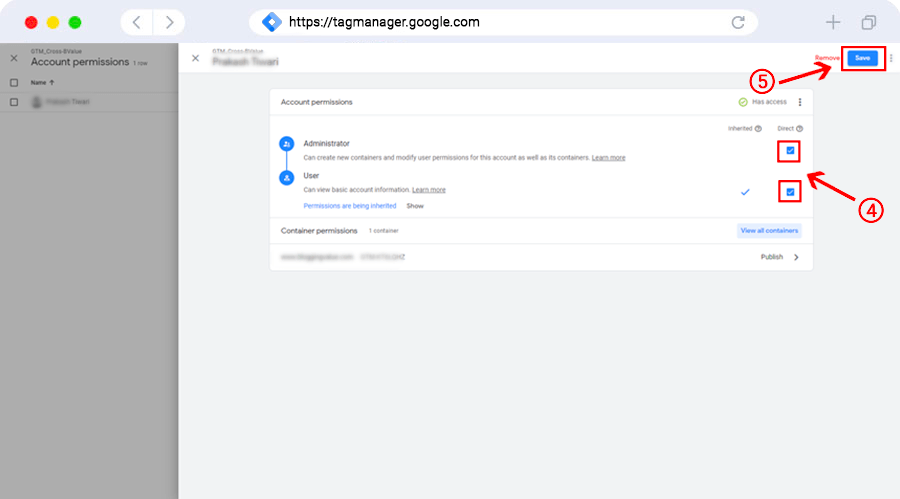
8 Set Account Permissions. The user is selected by default and allowed to view basic account information. Select Administrator gives the user the ability to create new containers and modify user permissions for accounts and containers.
9 Click Invite.

The invited users will receive an invitation to use your GTM account, and to accept it, they must have a Gmail account.
Edit users on a GTM account.
To edit users for a Tag Manager Account, you need to go to that account to change permissions.
1 Click Admin.
2 Go to the Account column and select User Management.
3 Pick an entry in the Account permissions list. You can use the search and filter tools at the top of the page to narrow down the results.
4 Modify account permissions as required.
5 To continue, click Save.
Add users to a container in a GTM account.
In this section, you can learn how to assign your container to any user. To add user permissions for a particular container, follow these steps:
1 Click Admin.
2 Go to the Container column and select User Management.
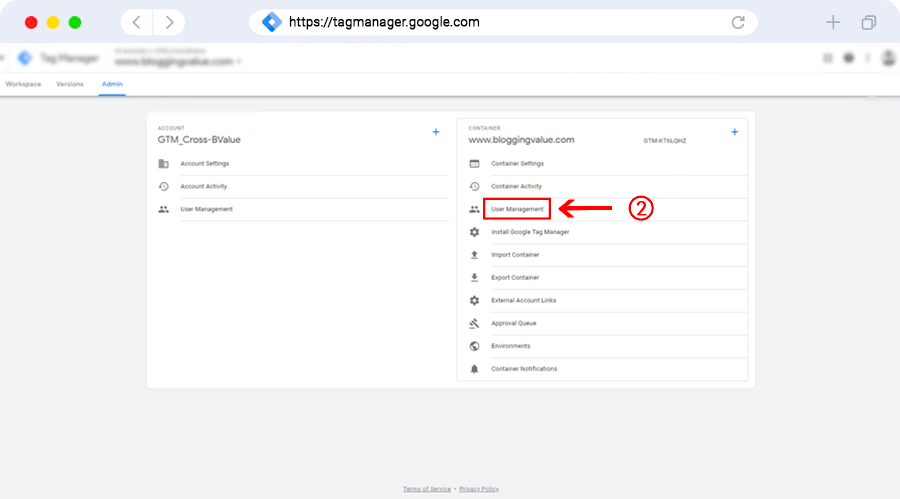
3 Click Add.
4 Select Add users.

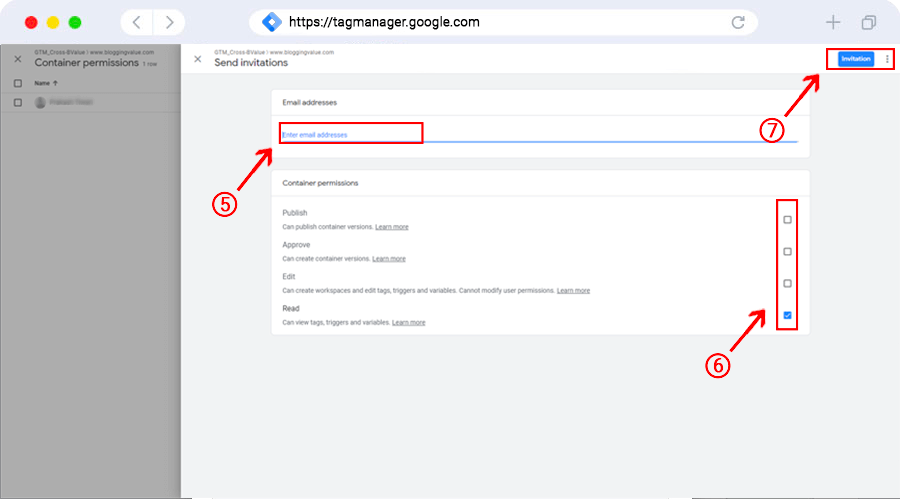
5 Fill in the email addresses of the users you want to add.
6 Assign Container Permissions.
7 Click Invite. The users invited will receive an invitation to use the container.
Edit users’ access to a container.
It allows you to grant permission at the container level. Here you can decide who you want to assign to manage, edit, and delete containers.
To edit user permissions for a particular container, here are the steps to follow:
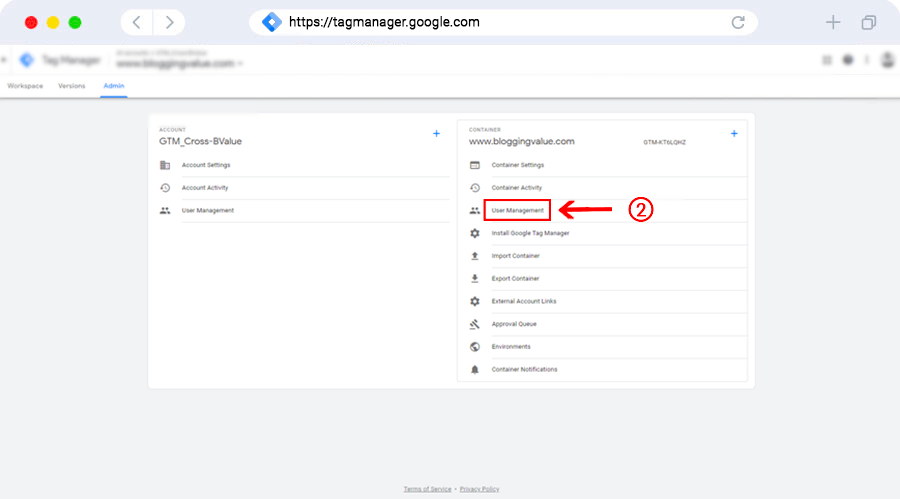
1 Click Admin.
2 Go to the Container column and select User Management.
3 Choose an entry from the Container permissions list.

4 Modify container permissions as required.
5 To save your changes, click Save.
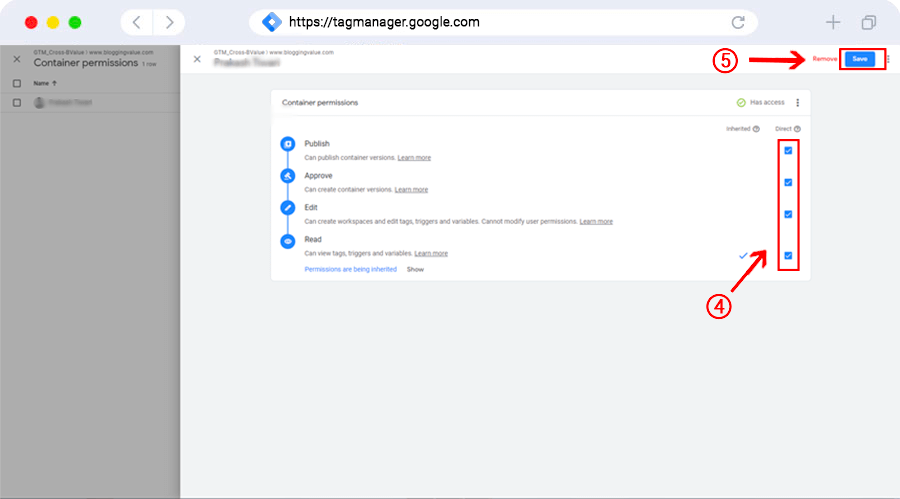
If you want to remove someone, click Remove on the permission page, then save it.
INVITATIONS
Suppose a Tag Manager administrator adds a user to the account. In that case, the user will receive an email invitation to access the account, along with an invitation card appearing on the Manager’s account screen. To view the list of all invitations, click the Invitations card. To view further invitation details, expand the invitation entry. Click Accept to accept the invite or Reject to reject the same.
ACCOUNT PERMISSIONS
Account permissions at the account level can either be set to admin or user. You may also modify permissions for particular containers on the Container Permissions Table.
CONTAINER PERMISSIONS
Users can get access on a per-container basis. For a particular container, a user may be assigned:
No access: The user will not be able to view the container listed in the account.
Read: The user will view the container listed and browse the tags, triggers, and variables in the container but cannot change.
Edit: The user can create workspaces and make edits, but not create versions or publish.
Approve: The user can create versions, workspaces, and make edits, but not publish.
Publish: The user can create versions, workspaces, make edits, and publish.
We hope this article proves to be of great help when it comes to giving access to a GTM account. If you have any questions, feel free to write to us at info@blueastral.com.